So, you’ve just bought an exciting new batch of lovely floor or wall tiles and are looking forward to laying them yourself.
There’s just one thing you’re not quite sure of:
Do tiles need to be sealed? And can you seal tiles yourself?
At Tile Superstore, we’re often asked these questions.
That’s why we decided to put together this comprehensive guide to sealing tiles.
Read on to find out how to seal grout and tiles step by step – and why you should do this periodically.
Table of contents:
Why should you seal tiles?
Let’s have a closer look at why you have to seal tiles and grout in the first place.
Now:
Grout seemingly takes up only a small portion of any tile floor or wall, which is why it often comes as something of an afterthought.
This is a huge mistake!
The thing is:
Grout is what makes tiles stick together, so it plays a massive role in the structural integrity of your tile walls and floors. But grout is naturally porous, which means it will stain and absorb water, oil and even dirt.
So, grout needs to be sealed. Additionally, porous tiles also need to be sealed with the appropriate tile sealer.
At this point, you’re probably wondering:
Which types of tiles are porous?
Here’s the deal:
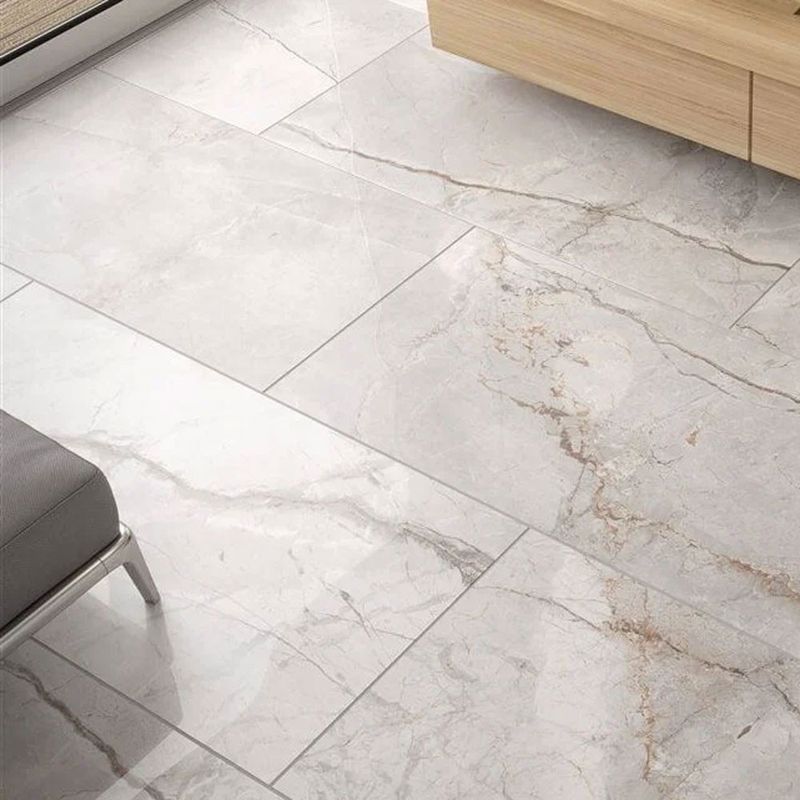
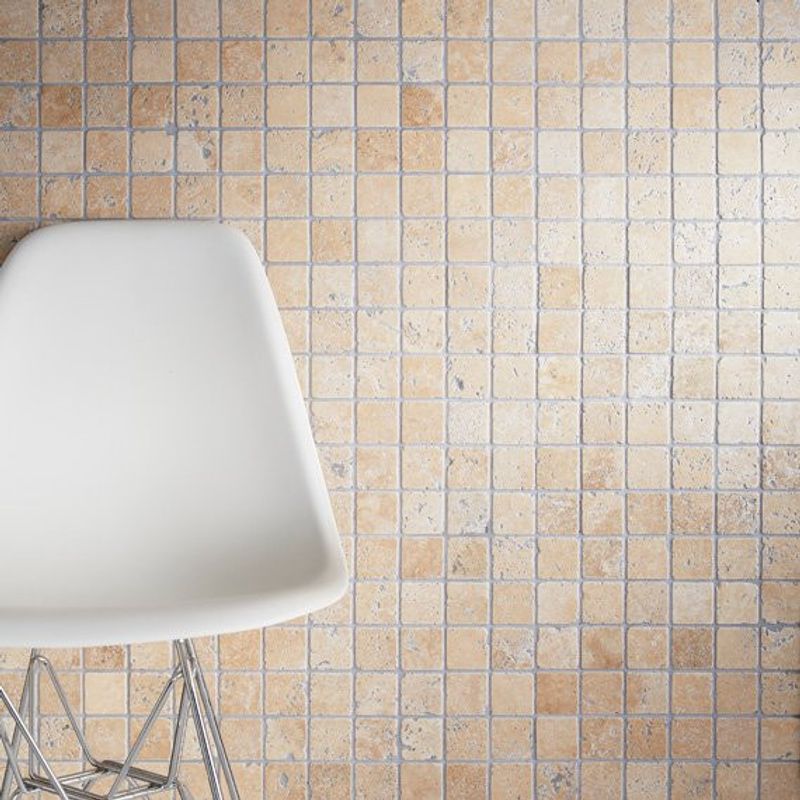
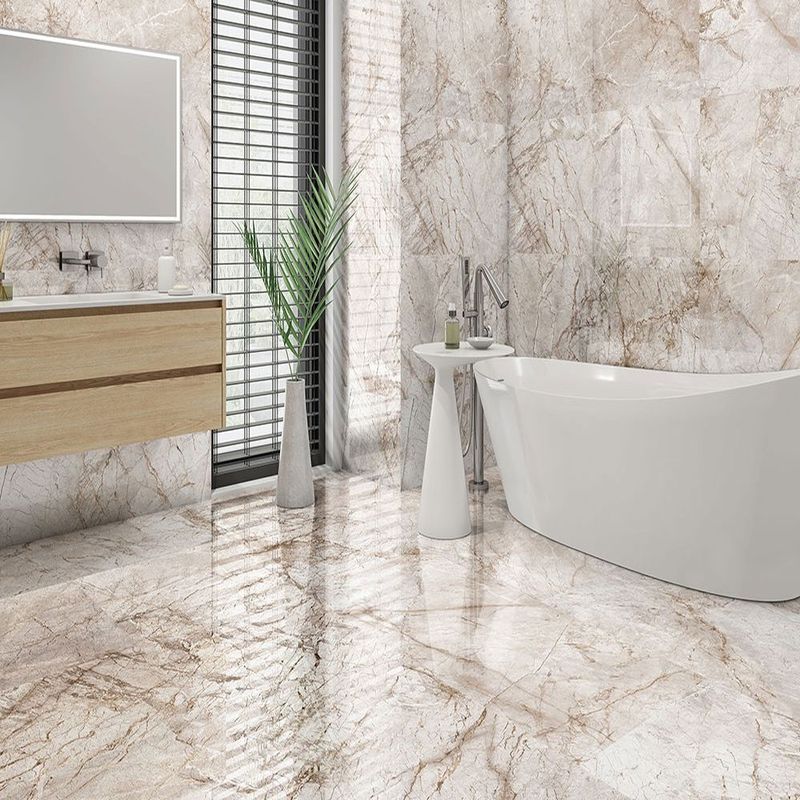
All natural stone tiles (marble, limestone, granite, etc.) are porous and need to be sealed, as do terracotta tiles.
Do porcelain tiles need sealing?
Indeed, they do. If your porcelain tiles have a ‘nano seal’, you don’t have to seal them. But it’s still a good idea to apply porcelain tile sealer. This way, they’ll be easier to clean and will be able to repel fully water and oil.
The only type that doesn’t require any tile sealing is ceramic tiles, as they already have a glass glaze on top which is non-porous.
One way to tell whether your tiles have already been sealed is to apply a dry wipe whiteboard marker to a small area. Leave it for a couple of minutes, then wipe off the ink.
Is there a stain? If there is, the tile has absorbed the ink. This is your cue to take out your sealant and start sealing floor tiles!
And that’s exactly what we’re going to look at next.
How to seal tiles
There is a misconception out there that sealing tiles and grout is not a DIY job and so needs to be done by a professional.
This couldn’t be further from the truth!
In fact, sealing tiles is a pretty straightforward project – and one you can easily take on by yourself with a few basic skills and a can-do attitude.
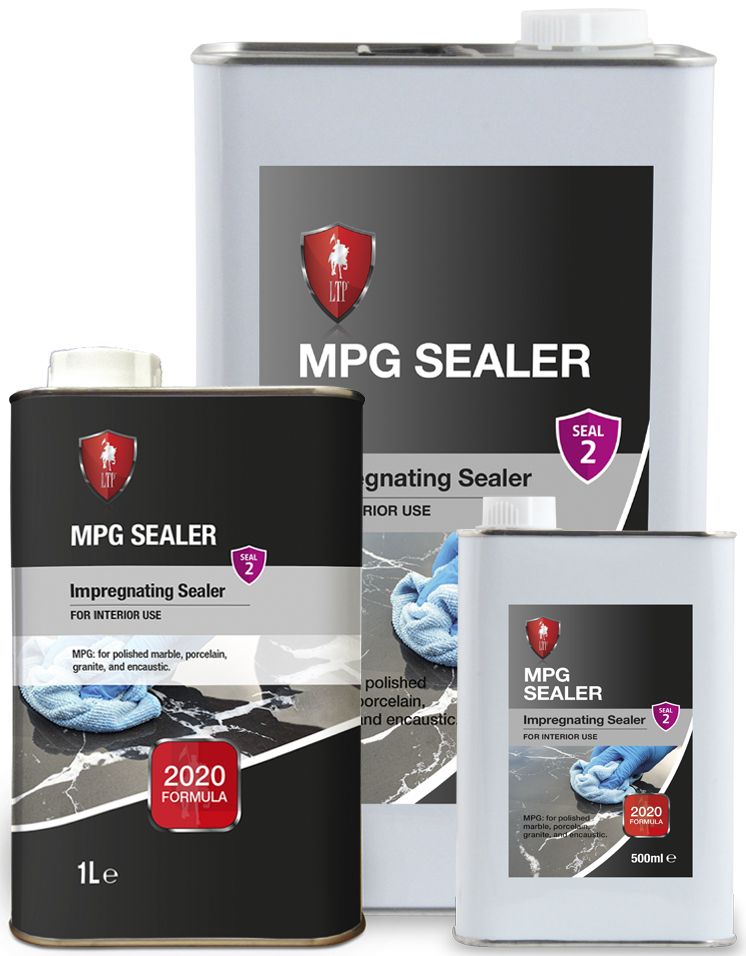
Provided you’ve already chosen the right sealant for tiles – there are various types, including impregnating sealers and topical sealers – all you’re going to need is:
- Protective gloves

- Tile cleaner
- Grout
- Grouting sponge
- Dry towels
Got everything handy? Simply follows these steps:
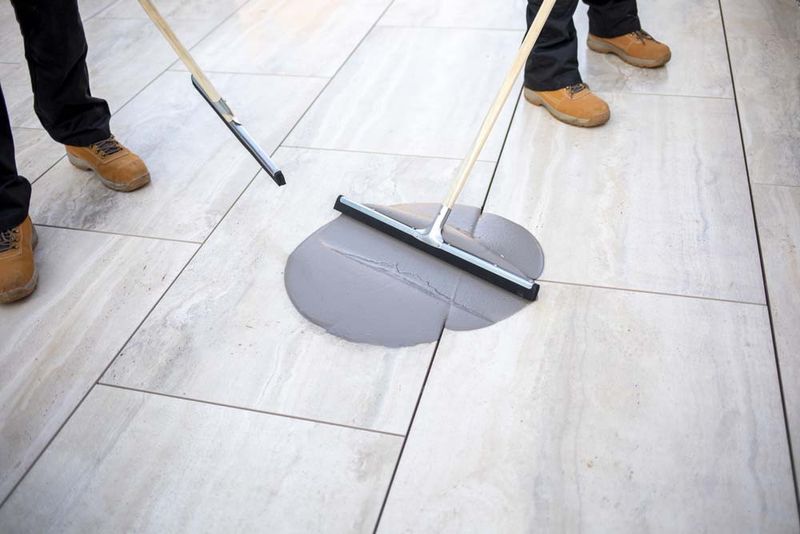
Step 1: Clean the tiles
Before sealing, it’s crucial to ensure that the tiles are clean and free from any dirt, dust or residues. Use a mild detergent or tile cleaner and a scrub brush or sponge to thoroughly clean them.
Then, rinse the tiles with clean water and allow them to dry completely.
Step 2: Test the sealer
It’s a good idea to test the sealer on a small, inconspicuous area or, even better, a spare tile before applying it to the entire surface. This will help you ensure compatibility with the tile material and assess the desired finish.
Step 3: Apply the sealer
Following the manufacturer’s instructions, apply the sealer evenly onto the tiles using a brush, roller or sprayer.
Start from one corner and work your way methodically across the surface, maintaining a consistent application. Avoid excessive sealer pooling or overlapping, as this can result in an uneven finish.
Step 4: Allow for absorption
For penetrating sealers, let the sealer sit on the tiles for the specified amount of time to allow absorption into the pores. This time can vary based on the product and tile type.
During this period, keep an eye on the tiles and remove any excess sealer that hasn’t been absorbed after the recommended time.
Step 5: Remove excess sealer
After the absorption period, use clean, lint-free cloths or towels to remove any excess sealer from the tile surface. Wipe gently in a circular motion to prevent streaks or smudges. Make sure all residue is removed to avoid a hazy or sticky finish.
Step 6: Grout the tiles
Carefully grout the tiles, allowing sufficient time for the grout to cure properly. The exact amount of time varies from one product to the next, so make sure you’ve read the manufacturer’s instructions carefully. The tiles will also benefit from the extended drying time.
Step 7: Apply additional coats of tile sealant (optional)
Some sealers may require multiple coats for optimal protection – again, check the instructions. If that’s the case, repeat the sealing process after the initial coat has dried and the grout has cured. Ensure proper drying time between each coat.
That’s all it takes! The only potentially tricky bit is allowing sufficient time between coats. So, make sure you plan ahead, and you’ve literally got this covered.
Also, remember to always follow the specific instructions provided by the sealer manufacturer, as the application process and drying times can vary between products.
Keeping your tiles in good working order
Sealing tiles is an important step in maintaining their durability and appearance. It helps protect the tiles from stains, water damage and dirt penetration.
But it doesn’t end there:
Regularly cleaning and resealing your tiles as needed will help preserve their appearance and longevity by a long way.
You’re probably wondering:
How often should you reseal tiles?
The answer to this question depends on the type of tiles and how much exposure to water, oil and dirt they get.
Floor tiles that get plenty of traffic might require more frequent treatment, for instance. When in doubt, it’s best to contact the manufacturer.
As a general rule of thumb, though, you should do it once or twice a year.
The bottom line is:
By sealing tiles on a regular basis, you and your family will be able to enjoy them for a long time to come.

Was this guide useful?
Mentioned in this project guide:


LTP Mattstone H2O Water-Based Impregnating Sealer for Natural Stone & Travertine
from
£19.99 Incl. VAT


