With a rise in popularity, Luxury Vinyl flooring is taking the market by storm.
An easy, durable and waterproof alternative to hard floors and carpets, what’s not to love? You can count on it to withstand heavy footfall and it is super straightforward to clean, making it an ideal option for kids, pets and communal areas.
Once you’ve picked out your LVT using our helpful guide, you might be wondering what work goes into preparing a floor for vinyl before it’s installed.
Well, guess what? We’re back with another handy guide to help you out. If you’re looking for the key to vinyl flooring preparation, look no further.
Oh, and you can hold the applause (but not really, we love it).
Table of Contents
- What tools do you need to prepare for your flooring?
- How do you prepare a floor for vinyl flooring?
- Do I need to screed a concrete floor for vinyl?
- Underlayment for vinyl flooring
- Final thoughts
What tools do you need to prepare for your flooring?
Before we can start preparing your floor, there are a few things you’ll need. These items include:
- Floor brush or vacuum cleaner
- Warm water and detergent
- Filler for your subfloor
- Sandpaper or electric sander
- Spirit level
- Moisture meter
- Screed and primer (if applicable)
- LVT underlay (if applicable)

How do you prepare a floor for vinyl flooring?
Prepping your floor doesn’t have to be a difficult process. Just follow our easy steps and you’ll be well on your way to a perfect LVT flooring installation.
Remove existing flooring
If you’ve already removed any existing flooring before getting your project underway, you’ll skip this step. If not, this is the best place for you to start.
Remove any soft floor coverings like felt, vinyl and carpet, as well as any laminate flooring. You can keep hard floor coverings like linoleum and tiles in place if you wish, though it’s advised you remove these if there are too many irregularities for a good installation.
Inspect your subfloor
It’s incredibly important to inspect your subfloor before you begin laying any LVT. This is because any irregularities and lumps can affect the way your floor will lay.
Start by removing nails and checking your subfloor for holes, cracks and any other areas needing repairs. You can use an appropriate filler for minor damage to wood and concrete. If there are any significant cracks, however, you might need to remove this area and replace it. If this is the case, you’ll need to leave an appropriate amount of time before the LVT application.
Where possible, grind down and level any bumps and uneven areas in your subfloor. This can be completed using sandpaper or, for a quicker result, an electric sander. You can check for unevenness using a spirit level in different areas. If you don’t have a spirit level, you can use a flat surface or the edge of your LVT plank. Experts advise that anything uneven over 2mm in a 1m run should rectified with a floor-levelling compound that is suitable for the job.
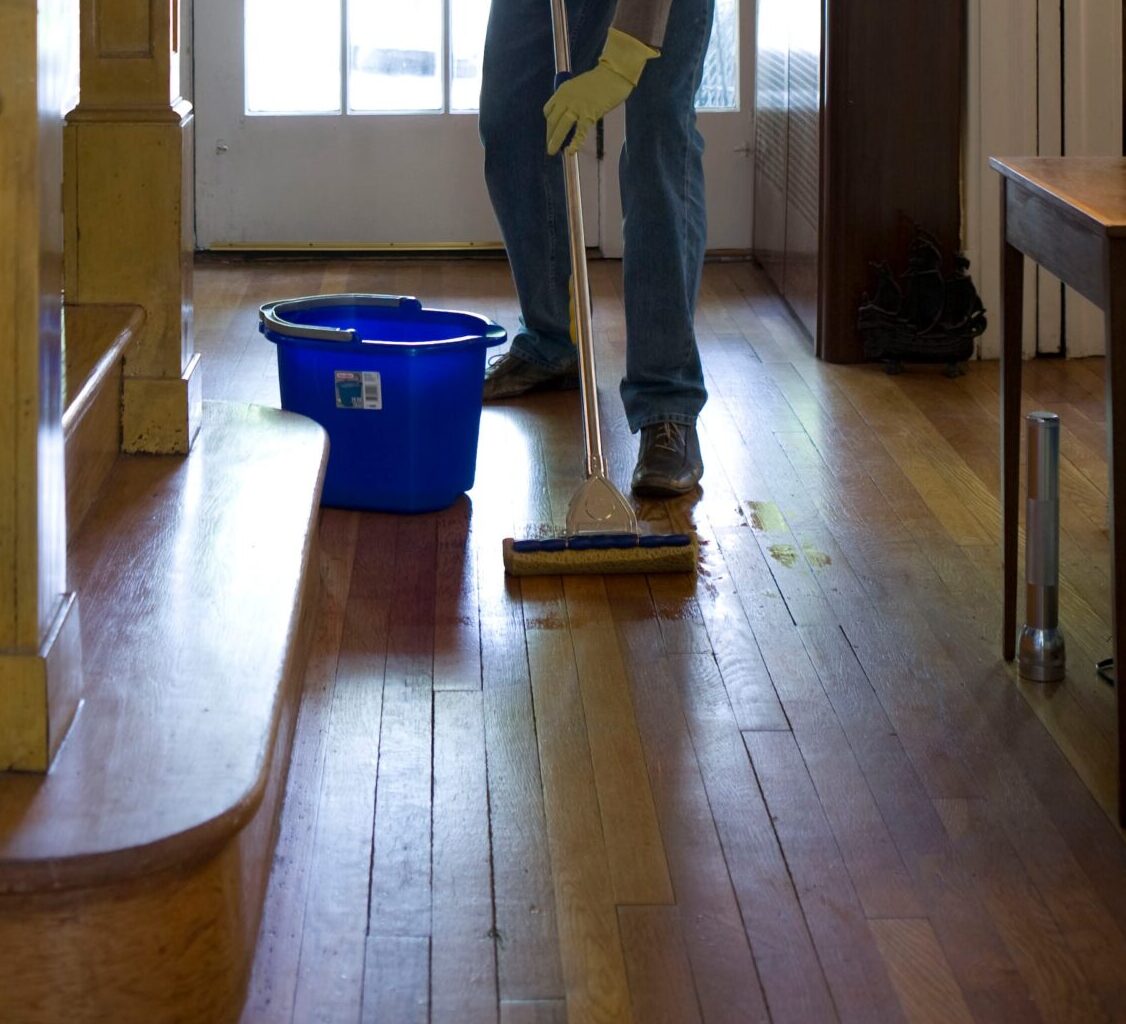
Clean your subfloor
Give your subfloor a good sweep with a brush or use a vacuum cleaner to collect any dirt or debris. Once complete, use warm water and detergent to clean down your floor from top to bottom, making sure to remove all remaining chemical residue and glue. We don’t want there to be any grease, dirt or dust lingering, especially for glue down LVT which requires adhesion.
Let your floor dry completely before moving on. Remaining moisture can cause damage to your LVT and often leads to dampness.
Test the moisture levels
Your subfloor must have a low moisture level before installing LVT to prevent the growth of mould. Moisture levels should be below 2.5% MC (Moisture Content) for a cement screed subfloor, below 0.5% MC for an anhydrite subfloor and below 10% MC for a wooden subfloor. When you have underfloor heating, these values should be even lower at less than 1.5% MC for cement screed subfloors and less than 0.3% MC for anhydrite subfloors.
To monitor the moisture levels, you can use a moisture meter. Alternatively, if you don’t have a moisture meter, you can secure a small piece of scrap vinyl to your subfloor with tape. Ensure the edges are tightly sealed and keep the scrap vinyl there for three days. On the third day, remove the tape. Easy removal signifies that the moisture levels are too high.
When the moisture levels of your subfloor are too high, you should dehumidify your room and lower them to an appropriate level. You’ll find that issues with moisture levels typically occur with concrete floors, in which case moisture barriers are laid before your vinyl flooring.
Do I need to screed a concrete floor for vinyl?
If there are any prominent lumps and bumps or unevenness that can’t be fixed with sandpaper and patchwork, it will really show through your LVT. One recommended way of remedying this is with the use of a screed and primer.
Screed is made from cement and is ideal for levelling an uneven subfloor. It also creates a barrier between your flooring and any remaining contaminants on the subfloor, allowing for a seamless finish and adequate adhesion. An adequate primer should be used before laying your screed, resulting in the best adhesion. Always follow the manufacturer’s guidelines when combining and applying the mixture.
How long does screed take to dry before laying vinyl?
The exact time measurements should be outlined by the manufacturer. They will depend on composition and depth, but it’s typically advised to let 3mm screed dry for 24 to 48 hours before it’s walked on. Where possible, try to let your screed dry for at least 28 days before LVT application. This will ensure optimal results but if this isn’t possible, seven days should be long enough.
Underlayment for vinyl flooring
You might be asking yourself; do you need underlay for vinyl flooring? Not all vinyl flooring requires an underlay as it is waterproof. Most types of LVT include a built-in base layer already, but some may recommend you use a suitable LVT underlay. It’s important to always follow manufacturer guidelines.
Underlays can be helpful when it comes to vinyl flooring as they increase comfort, sound and thermal insulation. This means your flooring will be nicer to walk on, keeps footfall noise at a low level and also maintains heat.
How to install underlay
If required, underlay makes a useful asset for your LVT. When installing underlay, it’s vital to roll it in the direction the floor will be laid. If your underlay includes a moisture barrier, that should be installed facing the subfloor. Make sure your underlay is fitted to all corners, using adhesive tape to secure each row. Some underlays come equipped with self-adhesive or tape, so once again, be sure to read the manufacturer’s recommendations thoroughly.
Final Thoughts
And there you have it! You’re now armed with all you need to know to get your floor LVT-ready. Vinyl flooring preparation might not be the most glamorous part of the journey, and certainly not as fun as seeing it all installed, but it’s laying the groundwork for a successful installation – it needs to be done right.
So, blast some music while you smooth out those bumps, sweep away that debris, and make sure your subfloor is looking its best. Trust us when we say you’ll be grateful for it later.
While you’re here, why not head over to our how to lay vinyl flooring Help and Advice guide?
Was this guide useful?
Mentioned in this project guide:


